Summary
Shopify is a user-friendly SaaS tool that lets you create an online store quickly and easily, even if you don’t have any technical knowledge or design skills. It offers various customizable templates to choose from, and you can modify the content and design elements by simply dragging and dropping them into place. You don’t need to hire a web developer or design agency.
Shopify also provides extensions called Shopify Apps that can help manage your entire e-commerce process, including inventory and customer management. This means you can focus on your business rather than worrying about the technical aspects of running your online store.
If you’re looking to migrate from WooCommerce to Shopify, keep in mind that it’s a complex process that requires a lot of work. However, you can import your existing customer and product data to Shopify. Before doing so, you’ll need to export your data from WooCommerce.
Export Your Store Data From WooCommerce
To transfer your existing store data to Shopify, you must first export the data from your WooCommerce store. Once the export is complete, you will have an XML file saved on your computer that you can use to import the data into Shopify.
Steps:
- From your WooCommerce admin, click Tools > Export.
- Select All content.
- Click Download Export File.
Import Your Store Data To Shopify
When migrating from WooCommerce to Shopify, you must import your store data to Shopify.
Note:
To finish importing your data, you must have the Shopify importer app installed.
Steps:
- From the Store Importer app in Shopify, navigate to Select your platform and choose WooCommerce..
- Move to the Upload files section.
- Click on Add file.
- Locate and select the WooCommerce XML file that you previously downloaded.
- Click Import.
- Wait patiently for the import process to be completed.
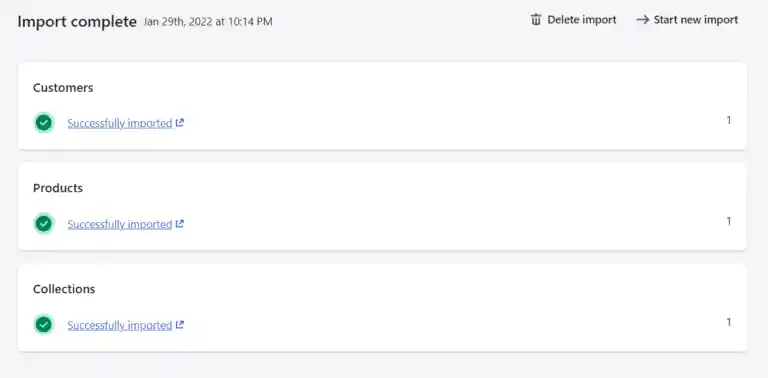
- Review the results of your import.

Delete A Store Data Import
If you are not happy with the data that you have imported, then you have the option to delete it. For instance, if your imported data has several failed items, it might be useful to remove that import and try again. Please note that you can only delete your latest import, and you need to wait for the data to be deleted completely before starting another import.
Steps
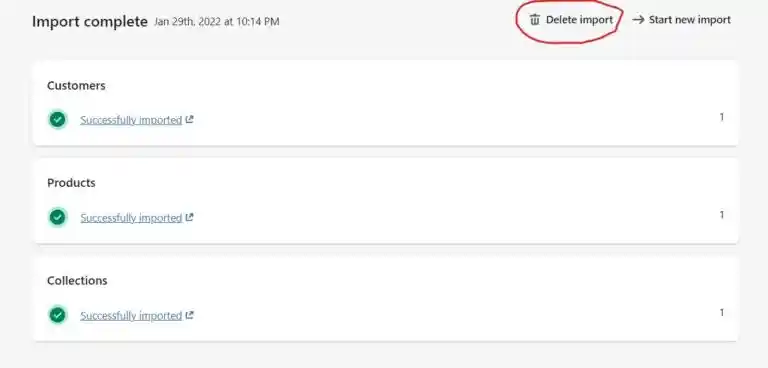
On the Import Complete page, click Delete import.

On the Delete import dialog, click Delete import.
Click “Start new import” to begin another import after deleting all imported files.
Review And Update Your Imported Data
If your data import was successful, you should be able to view your product and customer data in your Shopify admin. However, if some of your products or customers fail to import, you can add them manually. After the data import, you can manually add a product or a customer by following the relevant steps.
Note:
You may encounter issues while importing your CSV file. Find solutions to common problems with CSV imports for products.
The import was successful, but there were changes made
After your import process is complete, you can view the import summary page to see all the details of your import. In case any of your products or customers were imported with some changes, you will see specific error messages in the ‘Products to Review’ section of the import summary. To make the necessary modifications, you can click the ‘View Items’ button next to these messages and manually edit your products and customers.
Products Imported Successfully But Are Not Published
If you set your product visibility to “hidden” in WooCommerce, it will not be available for purchase on your store. To make it available, you need to enable it for a sales channel.
Some Products Or Customers Failed To Import
If you find that some of your products or customers have not been imported, you can manually add the missing products or customers. When importing customers, any entries with the same email address or phone number are ignored. Only the most recent customer entry with the duplicated data is imported.
Bundled Products Failed To Import
If you have bundled products on WooCommerce and want to sell them on Shopify, you will need to manually add these products to your Shopify store. To bundle products on Shopify, you can use the product bundle app available on the Shopify App Store. Simply install the app and start bundling your products.
Digital Products Imported Successfully But Are Not Published
If you are selling a digital download product, it won’t be published on your store by default. You will need to use an app to sell digital products. You can install the Digital Downloads app to make your digital products available for purchase in your store.
Product Variants Failed To Import
If your product has variants and one of the variants doesn’t include all of the options, the product won’t be imported automatically. You will need to add this product manually on Shopify. For instance, suppose you’re selling T-shirts with options for both size and color. If one of your variants includes size but not color, the product won’t be imported.
URL Redirects
Furthermore, it’s crucial to appropriately set the URL Redirects so that all URLs from the old website are mapped to the new website. This ensures that if a user comes from an old referral or a Google search, they won’t see a broken link.
Steps:
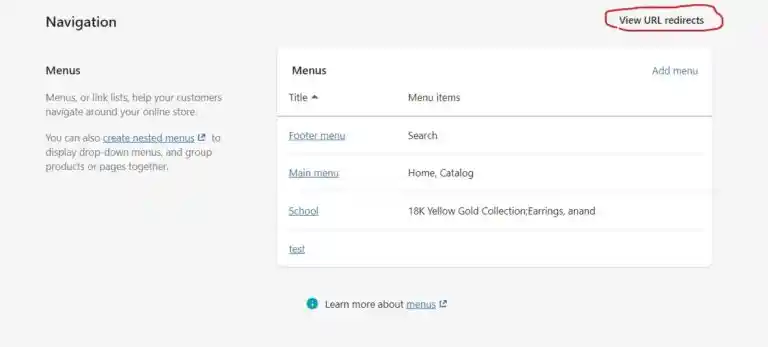
- From your Shopify admin, navigate to Online Store > Navigation.
- Click on View URL Redirects:

- Click on Create URL redirect.
- In the Redirect from the field, enter the old URL that you want to redirect visitors from. Only broken URLs should be redirected. If the old URL still loads a webpage, the URL redirect won’t function as expected.
Special Note
This article was first published on our E-Commerce site at CommerceCodes. We have updated it to reflect the latest version of Shopify.

